The VIDEO_DXGKRNL_FATAL_ERROR is one of the infamous Blue-Screen-of-Death (BSOD) errors that can crash a Windows 10 computer. Typically caused by a faulty Windows Update, this error indicates an issue with Microsoft’s DirectX graphics kernel subsystem.
Diagnosing the actual problem underneath can be tricky, as this error can be created by factors ranging from incorrectly configured graphics drivers to outdated BIOS. To help you solve the problem, we have compiled a list of all possible fixes to the DXGKRNL fatal error in Windows.
Fix 1: System Restore
The most common reason for running into this BSOD error is a Windows Update gone wrong. Major updates often mess up low-level subsystems that keep your system running, creating fatal crashes without any actual hardware fault.
The easiest way to undo a Windows Update is by using System Restore. This allows you to revert your computer to an earlier state, rolling back any system updates. Even if you haven’t manually created any System Restore points, it is possible that Windows automatically made one before installing a major update.
You can use this restore point to undo the update, getting your PC working as before.
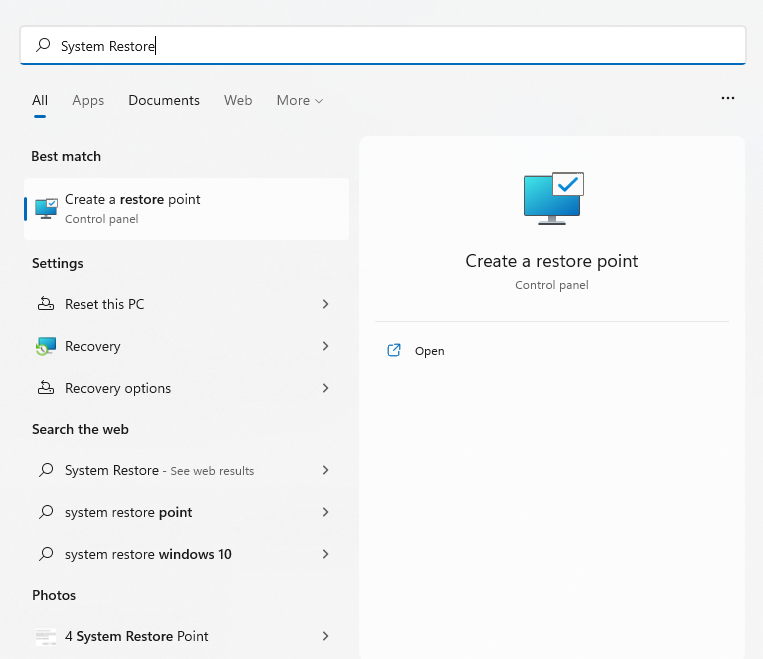
- To use System Restore, open Create a restore point in the Control Panel or search for it in the Start Menu.
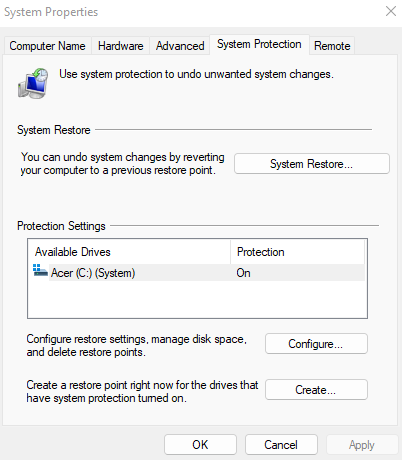
- Since our goal is not to create a System Restore point but rather to revert to an earlier point, click on the System Restore… button.
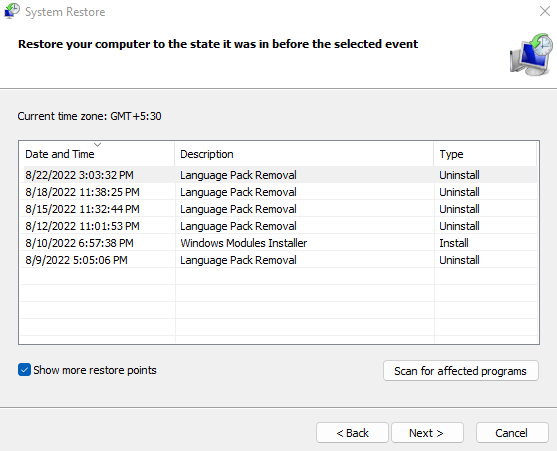
- Select the Next button in the window that appears to get a list of all saved restore points on your PC. By default, it only shows recent points—check the Show more restore points option to display older points. This list includes manually and automatically saved system restore points, including those made by the operating system before installing and uninstalling major updates.

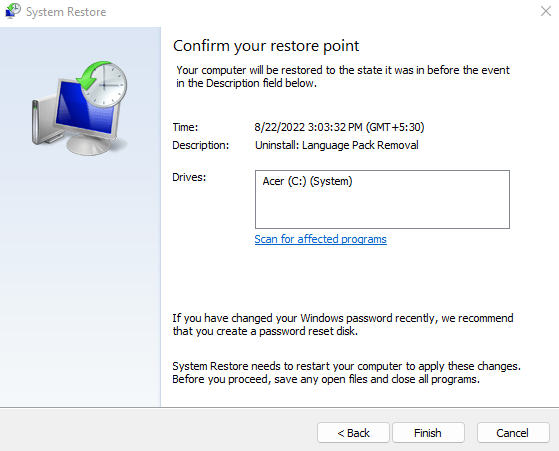
- The restore points are listed by their date and a short description of the Windows Update affected by it. Select the system restore point you wish to restore and click on Next.
- You will be asked to confirm the system restore point. Once you select Finish, the computer will reboot and revert to its state before the System Restore Point was created.
Once the restoration is complete, you can use your PC again. This is a good way to eliminate any issues related to Windows Updates, not only the VIDEO_DXGKRNL_FATAL error code. If this fix doesn’t solve the problem, you should look at the hardware and drivers instead.
Fix 2: Update the Graphics Card Drivers
At its heart, the VIDEO_DXGKRNL_FATAL_ERROR is a graphical issue. The glitch can be caused by outdated or incorrect video card driver software.
The obvious solution is to reinstall or update drivers. Most guides will advise using the Device Manager to uninstall the display adapter, prompting the operating system to install the appropriate display drivers automatically.
We do not recommend this approach. The problem with automatic driver installation is that Windows will choose generic versions of the drivers required instead of the optimized drivers provided by the manufacturer for your particular model.
When it comes to graphics cards, the best way to update their drivers is manually downloading the latest version from the manufacturer’s website. This driver has the best compatibility with your hardware and provides maximum performance.
- Open the manufacturer’s website to get optimized drivers for your graphics card. For a desktop, this means the GPU company (Nvidia, AMD, etc.), while for a laptop, you just need the device manufacturer (Dell, Lenovo, etc.).
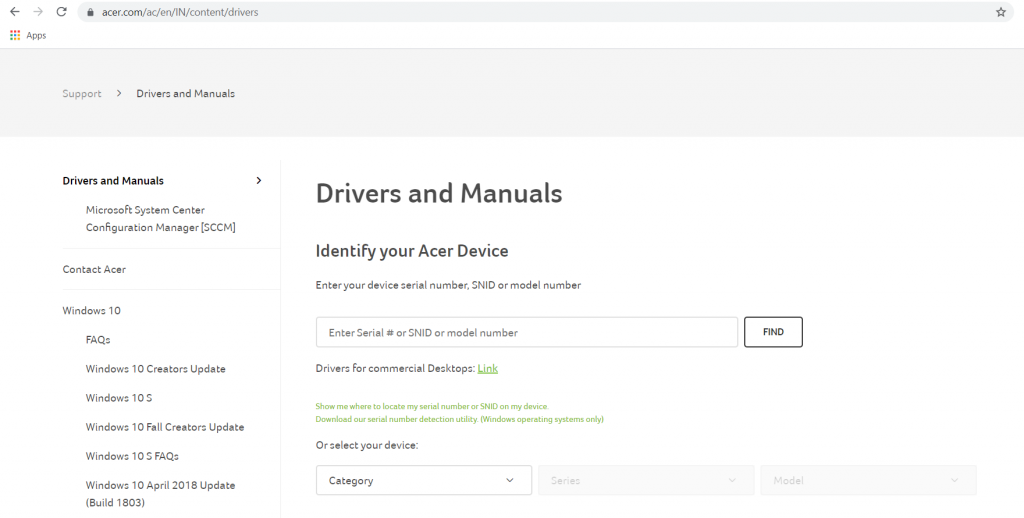
- You will need the exact model number of your device to find the correct drivers. Laptops have this printed below the device, while for a discrete graphics card, you can just check the box.

- For a laptop, you will be presented with a list of all drivers you can install on the device. Look for the VGA or graphics drivers, usually containing the name of the GPU in the description.

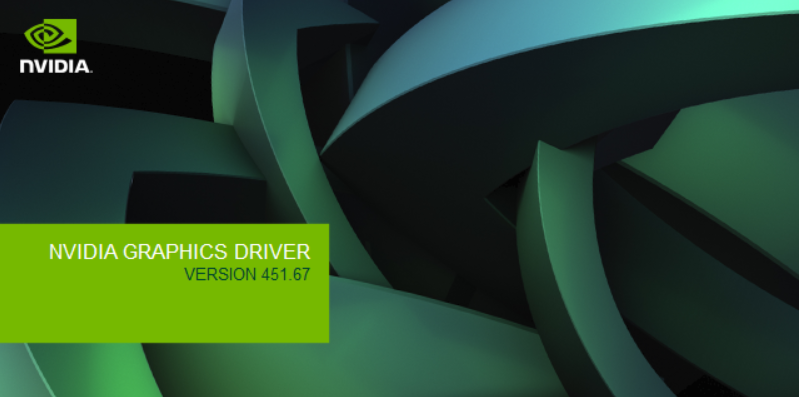
- Download and run the installer to start the setup of your PC’s GPU drivers.
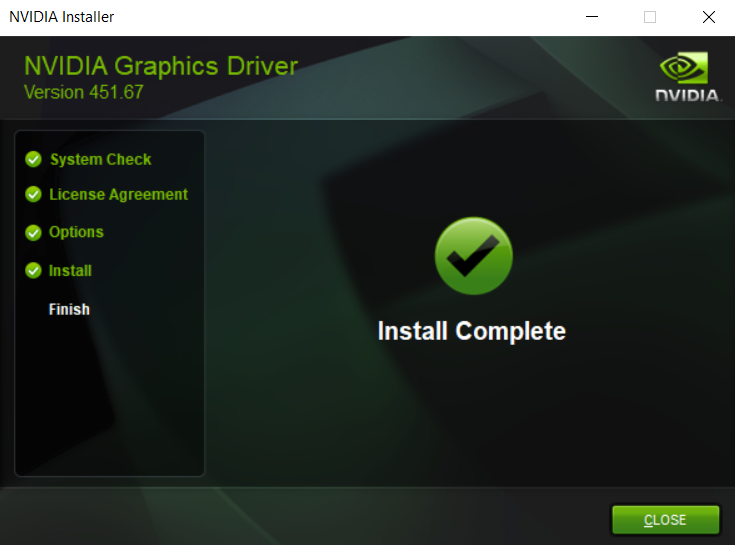
- Don’t worry about accidentally getting the wrong package – the installer checks your system for compatibility and determines the version of the driver already installed. You will get an option to upgrade if your PC matches the requirements.

- Once the installation is complete, close the installer and restart your PC. The new video drivers will now take effect.
Laptop users should take this opportunity to update any other drivers as well, especially the BIOS, as it may have a bearing on this issue as well.
Fix 3: Run the Hardware Troubleshooter
After upgrading your graphics drivers and rolling back updates, it is time to consider a hardware error as the culprit. GPUs are not known to malfunction easily, but other hardware issues can cause a fatal crash.
A faulty power supply, for example, is known to interfere with the functioning of the graphics card since the power-hungry peripheral needs a steady stream of power to work correctly. Many other minor hardware inconsistencies can produce a blue screen of death error, so verifying your computer’s hardware integrity is a must.
The simplest method to do this is by running the Hardware Troubleshooter. One of the many useful built-in utilities available in Windows by default, the Hardware Troubleshooter is a handy app for checking your system’s hardware.
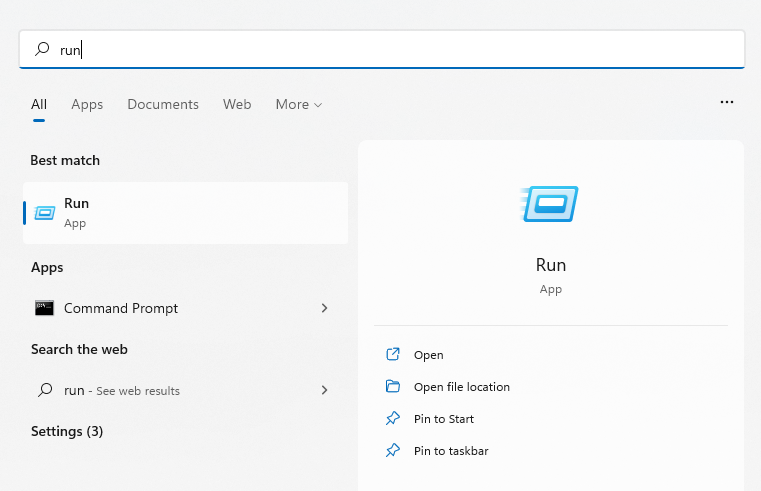
- We will use the Run app to open the Hardware Troubleshooter. You can find it by searching run in the Start Menu.
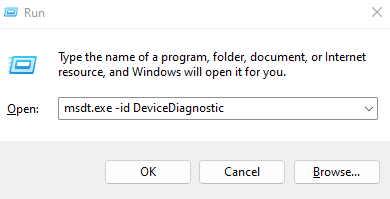
- Enter msdt.exe -id DeviceDiagnostic and select Open to run the utility.
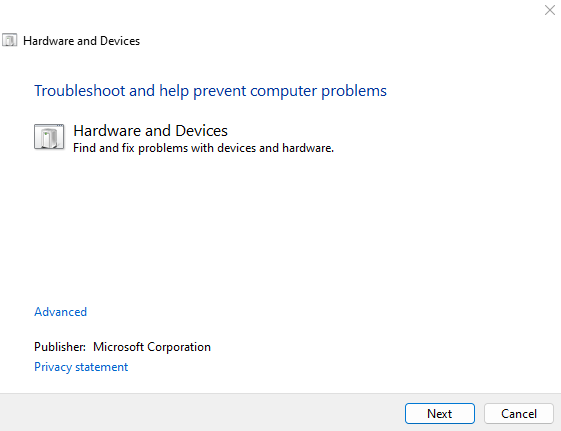
- Hardware Troubleshooter will open in a new window. Just select the Next button to proceed.
- The utility will now scan your PC for hardware issues. This may take a while, so make sure your PC is plugged in or has enough charge.

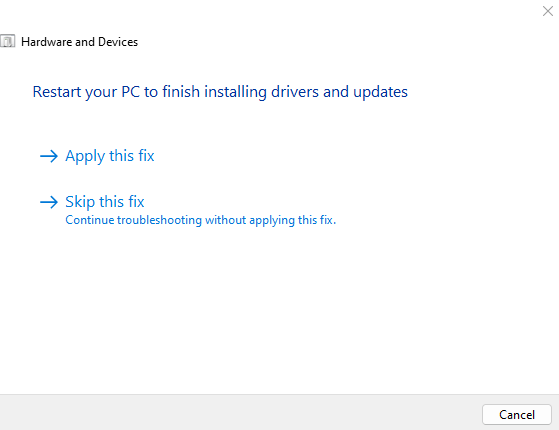
- If any issues are detected, the Hardware Troubleshooter will try to fix them automatically. You will be asked for confirmation, allowing you to skip the fix and continue the scan instead.
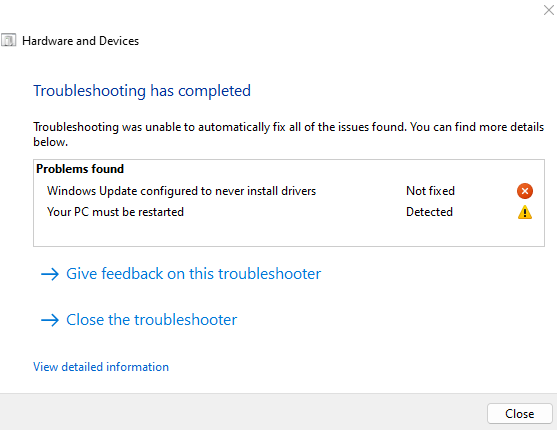
- When troubleshooting is complete, you will be presented with a short report of what issues were detected. You can use this information to determine any further steps.
Fix 4: Disable Fast Startup
Modern versions of Windows bootup very quickly, especially if you have an SSD drive installed. This is all thanks to the Fast Startup feature that comes enabled on Windows 10 and Windows 11 computers by default.
What Fast Startup does is simple – instead of completely shutting down the computer, it only puts the system into hibernation mode at shutdown. This preserves system data, enabling the computer to start where it left off.
On the flip side, however, this also carries forward memory errors. This prevents simple glitches that can be fixed by a clean boot from getting solved. So if you are facing any BSOD issue that isn’t going away, it is a good idea to disable fast startup, at least temporarily.
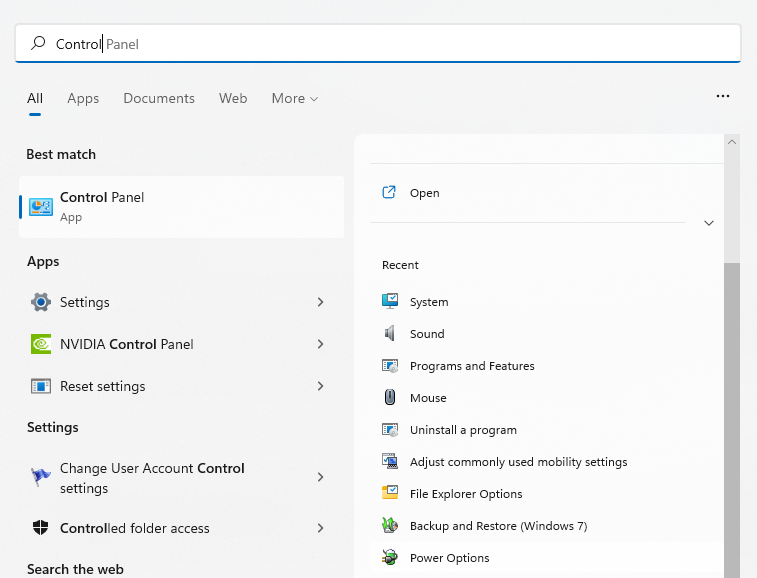
- To disable Fast Startup, you must open Power Options on your computer. You can find it under System and Security (also Hardware and Sound) in the Control Panel. On Windows 11, you can also search for the Control Panel and open Power Options from the search result.
- Once you have opened Power Options, don’t fiddle with plan settings. Instead, click the first option on the left panel—Choose what the power buttons do.

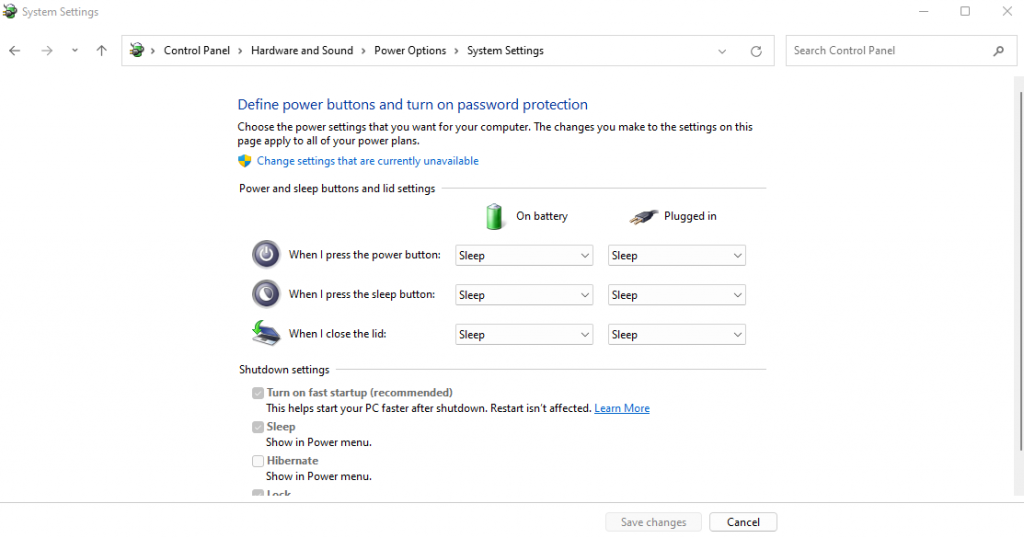
- It is in this window that you can configure all ways of powering down your computer. By default, you are not allowed to modify any Shutdown settings. You have to select the Change settings that are currently unavailable option to unlock these settings.
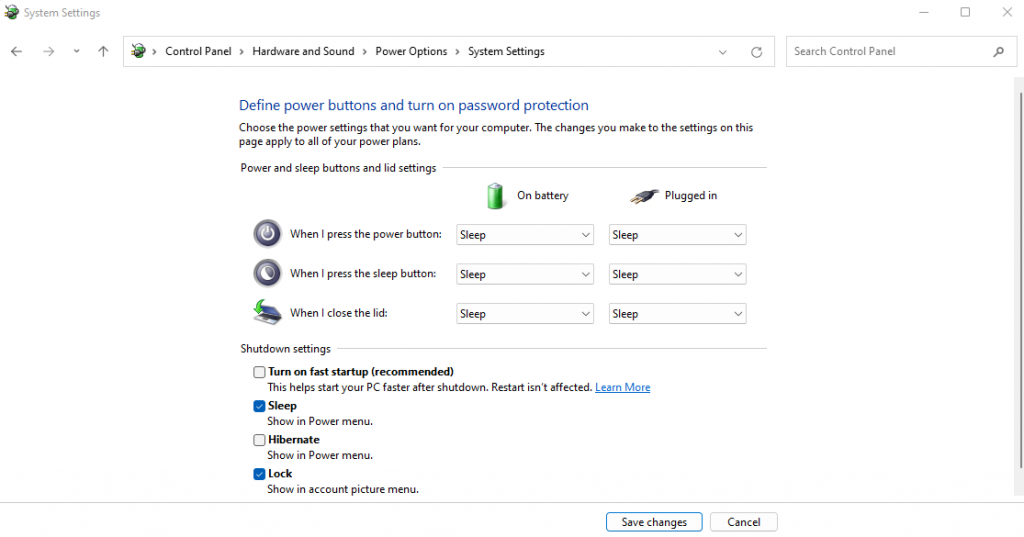
- Now the grayed-out options will become available for modification. Simply uncheck the Fast Startup option and Save changes to disable the setting.
The next time you shut down your PC, the computer will power down instead of just hibernating. This will increase the boot time but effectively refresh the system’s memory every cycle. This small change often solves many BSOD errors.
Fix 5: Update BIOS
For the most part, having an outdated BIOS doesn’t affect your computing experience. After all, the system only uses the BIOS while booting up and plays no role in how the OS works.
That said, BSOD errors can sometimes be traced back to a BIOS problem. And there is only one way to fix these problems—updating the BIOS.
Unlike device drivers, these updates are not taken care of by Windows automatically. You need to manually locate the correct BIOS update for your motherboard model (or your laptop model in case you are not using a desktop) on the manufacturer’s website and install it. Most of the steps will be similar to the process outlined in Fix 2 earlier in this article.
Fix 6: Repair Corrupted Windows System Files
You can reinstall drivers and update BIOS, but what about corrupted Windows files? Of course, performing a fresh install of Windows will do the trick, but isn’t there a less disruptive method?
It turns out there is. Using built-in command line tools, you can quickly check your computer’s system files for corruption and restore them to normal. There are options to verify the system files against a local repository and against downloaded images in case the offline source is corrupted.
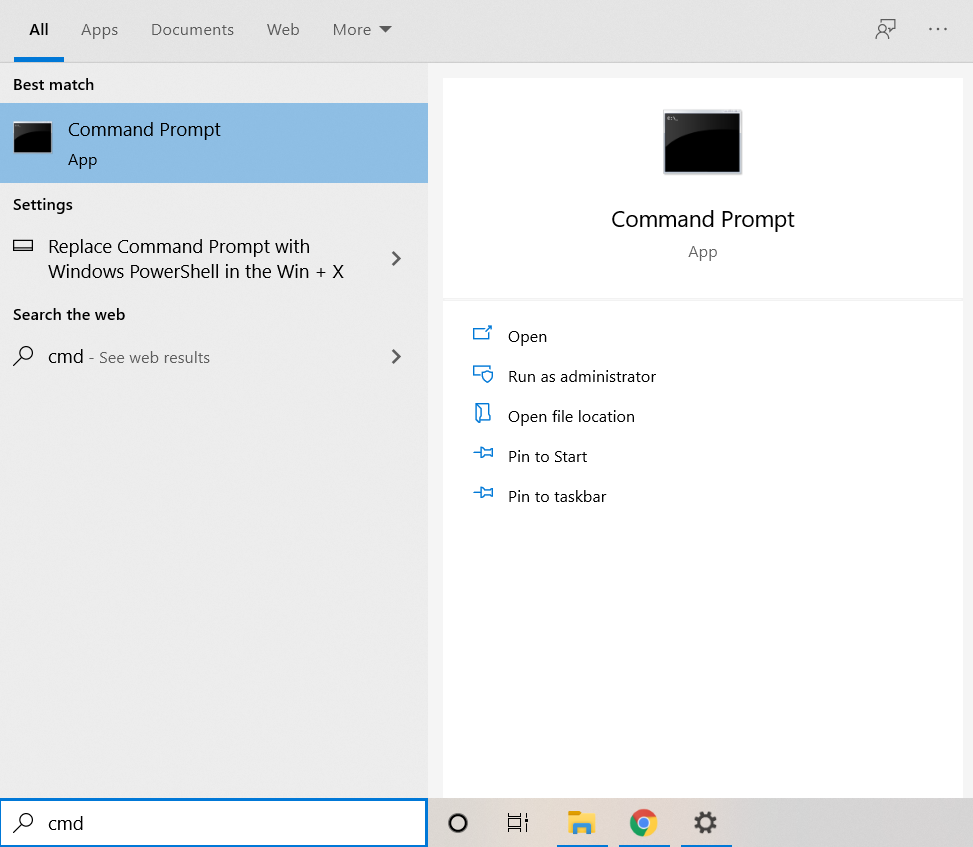
- To repair corrupted system files in Windows, begin by opening the command prompt as an Administrator. You can do this by searching for cmd in the Start Menu and selecting Run as administrator.
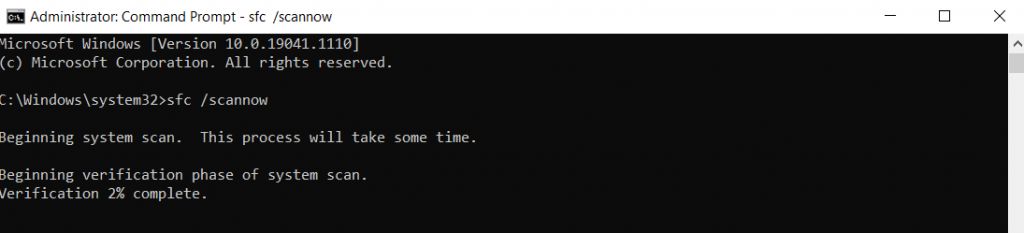
- The first tool we will use is the System File Checker. SFC is a utility that scans Windows directories for data corruption by checking them against a cached copy located on your computer itself. Simply enter the following command:
sfc /scannow

- SFC will proceed to verify all system files, replacing any corrupted data with a fresh version.
While the System File Checker is a handy tool, it’s not foolproof. Sometimes the data corruption can also infect the cached system files, leaving no baseline for SFC to compare against. That’s when you need to use DISM.
Only available on Windows 10 and Windows 11, the Deployment Imaging and Servicing Management (DISM) is another command line utility useful for fixing corrupted OS files. Instead of relying on an offline cache of system files, it downloads a system image to fix the Windows Component Store of any data corruption.
This bypasses any problems posed by a malware-infected Windows folder or corrupted cached files, rescuing your Windows installations in most scenarios.
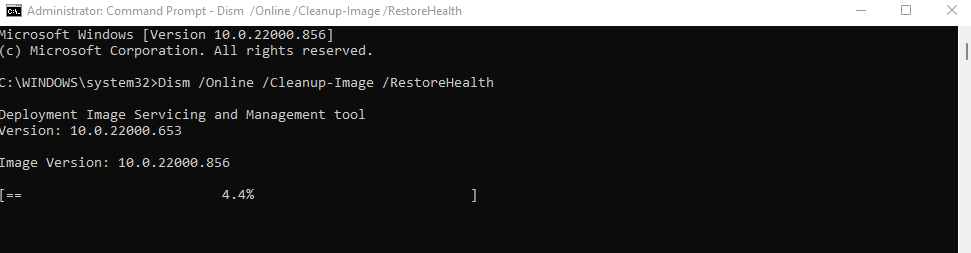
- Using DISM is simple; after opening Command Prompt as an Administrator, type Dism /Online /Cleanup-Image /RestoreHealth and press Enter.

- DISM will now download a Windows System Image and use it to restore the local component store.
After this, you can run the SFC command again to verify the integrity of your system files.
Fix 7: Update Windows
We began the article by claiming that a Windows Update might have caused the VIDEO_DXGKRNL_FATAL error message, and recommending a System Restore to roll it back. So why are we now telling you to update again?
The thing is, Windows Updates are meant to fix problems. In the rare case when an update ends up causing more errors, Microsoft is quick to patch it out in subsequent updates. So if you are facing a major issue right after installing a Windows Update, it is actually a good idea to install the next one.
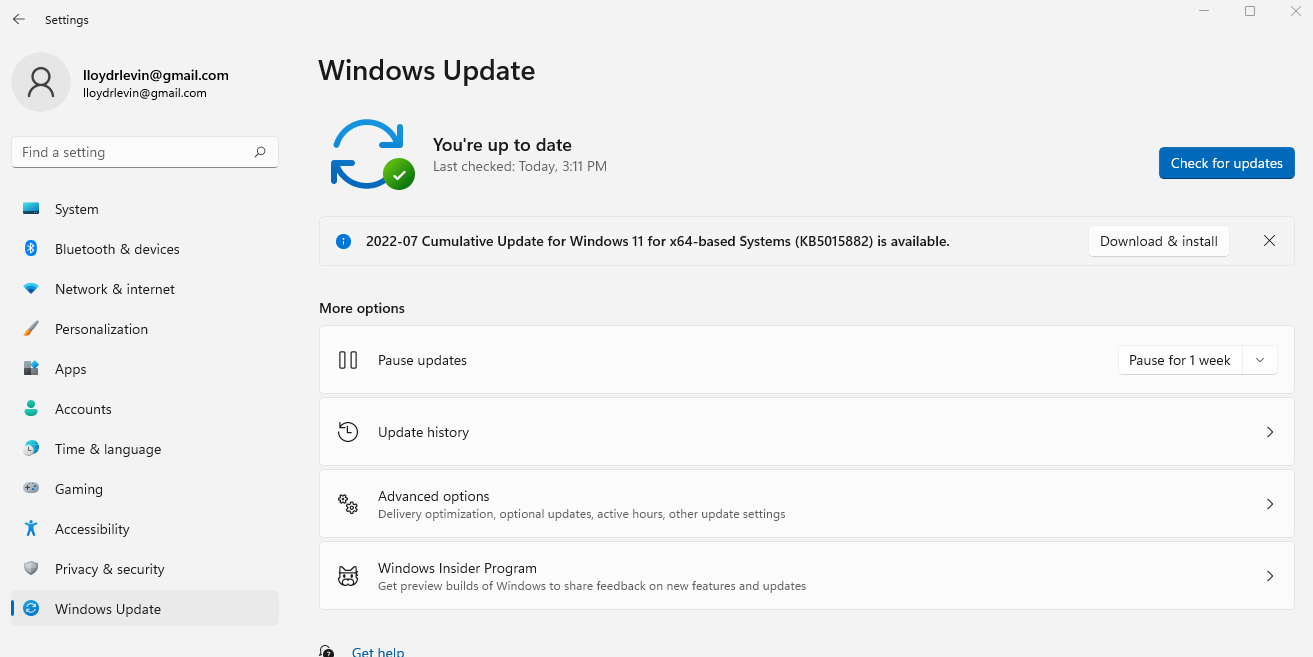
- To check for Windows Updates, open the Settings app. You can find its gear icon in the Start Menu or just search for it.
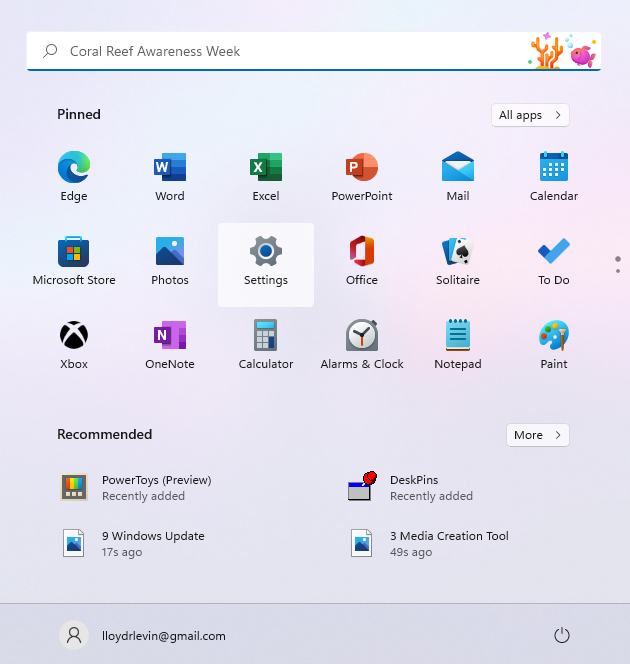
- Select the last tab on the left to view Windows Update. You can use the blue button to Check for updates. If any updates are available, you will get the option to Download & install them as well.
Sometimes a Windows Update is stuck, so you have to try some other ways to force the update.
What is the Best Way to Fix video_dxgkrnl_fatal_error in Windows?
Having your computer abruptly crash due to a BSOD error is the nightmare of any PC user. Sometimes, booting up in Safe Mode and uninstalling recently installed apps can solve the problem, though more often than not, the issue goes much deeper.
When it comes to the VIDEO_DXGKRNL_FATAL_ERROR crash, the likely culprits are corrupted system files or missing video drivers. Therefore your best recourse is to roll back any recent updates (using System Restore) and update the graphics card driver.
Most of the time, that is enough to get your PC working normally again. If that doesn’t work, try some of the other methods outlined in this article until you stop getting the DXGKRNL FATAL error message.