Never before has it been this painless
With Windows 11 finally being released, anyone around the world can download and install the operating system on their computer. The problem? It isn’t exactly straightforward.
While eventually all eligible systems will be given the option to upgrade, as of now the automatic update route is open to very few computers. There are other ways, of course, but they usually involve performing a clean install, wiping out all existing data from your drive.
So is there any way to install Windows 11 on your PC, without losing all of your data in the process? Yes. Thanks to the Windows Installation Assistant, you can do just that. Let’s see how.
A Brief Overview of Windows 11 Installation Methods
The most common way of installing Windows 11 on a computer is through a bootable USB drive. You can create such a drive using a tool offered by Microsoft, or by downloading an ISO image file.
The issue with this route is that it requires an empty disk (or at least, a partition) to install. This means losing some of your data. Even if you manage to limit the fallout to a single partition on your hard drive, you will usually need to reinstall the applications, which can be a hassle in itself. Not to mention getting hold of the OEM drivers.
If you want to upgrade to Windows 11 without losing a single file or app, you need to try a different method. Either you must wait for the download to be available over Windows Update, or you use the Installation Assistant. In this guide, we’ll demonstrate the second method.
How to Check if Your PC Can Support Windows 11
To install Windows 11 on your PC, you must first verify that it meets the system requirements. The new version of Microsoft’s operating system comes with some strict minimum specifications, and many old computers don’t meet this criterion.
Earlier, you had to download external programs or use other roundabout ways to check whether your PC was compatible with Windows 11. But with the official launch of the operating system, you can use a far easier method.
- Bring up the Start Menu and open Settings.
- Select Windows Update from the top right.
- If Windows 11 has been released in your region, you will see the option to download and install it. Even if that’s not the case, there will be a message confirming whether your PC can support Windows 11. A green tick icon means you can install it on your computer without any issues.
How Can I Upgrade from Windows 10 to Windows 11 Without Data Loss?
Currently, the only guaranteed method to install Windows 11 on your computer without performing a fresh install is by using the Installation Assistant. This tool from Microsoft acts as an update, transforming your existing Windows installation to the newer version without affecting any of the files or applications.
- To get started, open the official download page for Windows 11. There are three ways of downloading the operating system: the Installation Assistant, an Installation Media creation tool, and an ISO file. Select the first option.
- Run the downloaded application to get the installation progress underway. If your PC meets the system requirements, you will be presented with a license agreement to download and install Windows 11. Select the Accept and install option to continue.
- Since the Installation Assistant does not include the setup files, it will first need to download them. Fortunately, this process doesn’t need active monitoring, and you can use your PC normally while the files download in the background. Approximately 4.5 GB of files will be downloaded, so you might have to wait for a while.
- After the download is complete, the files will be verified and then start the installation. Surprisingly, you don’t need to shut down your computer – the bulk of the installation will take place while your PC is still running normally. You can continue working on it while Windows 11 installs on the computer.
- Once this step has been completed, the computer will restart. You can initiate the restart instantly, or put it off for later. If no option is selected, the PC will restart in thirty minutes.
- The remaining part of the Windows 11 installation will continue after the restart. It is a quick process since most of the installation has already been completed. Once Windows 11 has finished setting things up, you will be logged in to your computer. As you can see, all of your desktop shortcuts and applications are still there, unaffected.
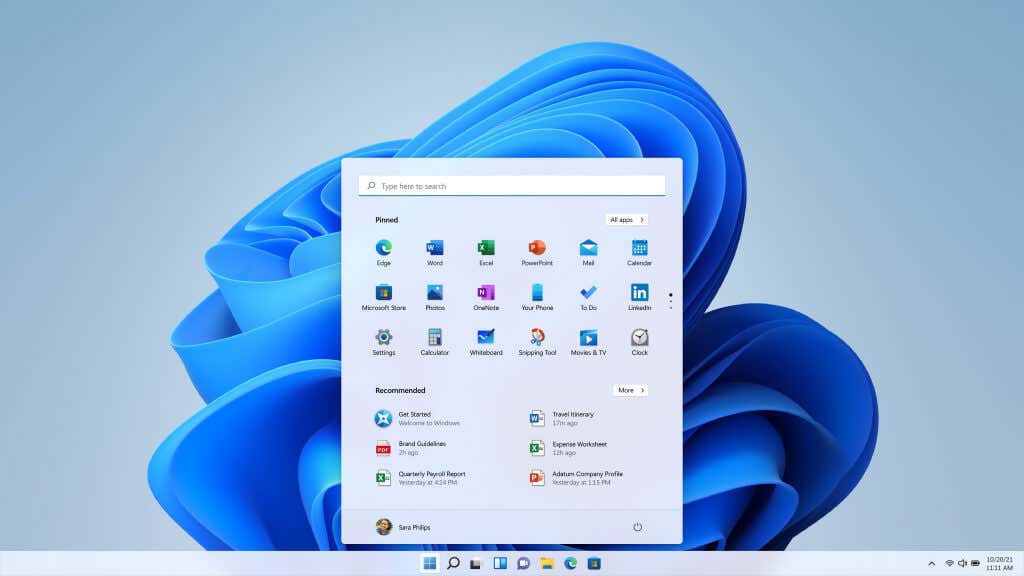
Apart from the new layout of the taskbar and the Start Menu, Windows 11 changes the look of the File Explorer as well, along with a bunch of built-in tools and apps. It also streamlines the performance of the operating system itself, allowing the system to boot faster and work much more smoothly.
What Is the Best Method to Install Windows 11?
Using Microsoft’s Installation Assistant to upgrade your existing Windows installation to the next version is the easiest way to get Windows 11. Never before has installing Windows 11 been so painless.
You get to keep all of your files and installed applications while updating your operating system to the latest version. The process is surprisingly quick as well, finishing up in about an hour and a half, depending on your internet speed and RAM capacity.
And as most of the Windows 11 installation takes place in the background, you can keep using your computer during that time. Only a few minutes of setup are required during booting up, saving a lot of time that would otherwise be wasted staring at a bootup screen.


