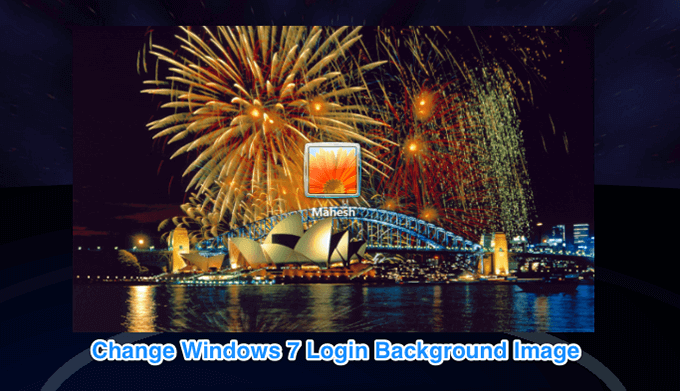
A good way to brighten your morning
The default login screen in Windows 7 looks just as good as any other screen, but in case you don’t like it for some reason, you can have it changed. Unlike Windows 10, the procedure to change Windows 7 login screen background is a bit different and requires a few more steps to get the task done.
There are multiple ways to change the login screen background image, and you can use any of them to have your favorite image set as the background for your login page.

Modify a Value To Change The Windows 7 Login Screen Background
Before you can assign a new image as the Windows 7 login screen background image, you’re going to need to modify a value using either registry editor or local group policy editor.
Use either of the following methods to do it.
Use Registry Editor To Allow The Windows 7 Login Screen To Be Changed
If you use one of the Windows 7 editions that don’t come with the local group policy editor, your only choice will be to use the registry editor to make the change. It’s a bit more complex than the other method but it gets the job done regardless.
- Press the Windows + R keys at the same time, type regedit in the box on your screen, and hit Enter.

- When it opens, head to the following directory by clicking on the items in the left sidebar.
HKEY_LOCAL_MACHINE\SOFTWARE\Microsoft\Windows\CurrentVersion\Authentication\LogonUI\Background - If you see an entry named OEMBackground on the right-hand side pane, skip to the step below that edits it. Otherwise, right-click in the blank area, select New, and choose DWORD (32-bit) Value to create a new entry.

- Enter OEMBackground as the name of the entry and press Enter.

- Double-click on the entry and you should be able to edit it. In the edit box, change the existing value of the Value data field to 1 and click on OK.

- Exit the registry editor as you no longer need it.
Use Local Group Policy Editor To Enable Windows 7 Login Screen Background Changes
Certain editions of the Windows 7 operating system come built with the local group policy editor. It lets you change many of the settings and values of your computer in a much easier way than a registry editor. This includes the option of changing the Windows 7 login screen background as well.
If you have access to the tool, you can use it as the following to enable the background image option.
- Press the Windows + R buttons simultaneously, enter gpedit.msc in the box, and press Enter.

- When it launches, expand the directories on the left and navigate to the following path.
Computer Configuration\Administrative Templates\System\Logon - Once you’re there, you’ll find an option that says Always use custom logon background on the right-hand side pane. You want to double-click on this option to open it.

- When the option opens, select Enabled at the top to enable it. Then click on the Apply button followed by OK at the bottom to save your changes.

- Exit the tool when you’re done.
Setting a New Image As The Login Screen Background
Here comes the part of the procedure that you’re actually going to like. Now that you’ve enabled the option that lets you change your Windows 7 login screen background image, it’s time you choose an image to be used as the background.
Windows offers you the flexibility to use just about any image as your background. You can pick one from your computer, download your favorite from the Internet, or ask your friend to send theirs over to you. Just make sure the image is less than 256KB in size and is in JPG format and you should be all fine.
You’ll then need to place the image in a certain folder so Windows recognizes it as a login screen background image and uses it appropriately.
- Right-click on your image and select Rename.
- Enter backgroundDefault as the name of the image. This is a must. Then copy the image.

- Open a File Explorer window and navigate to the following path.
C:\Windows\System32\oobe - Create a new folder named info. Then create a new folder inside it and name it backgrounds.

- Open the backgrounds folder, right-click anywhere blank, and choose Paste. Your chosen background image will be copied here.

That’s all there is to it.
From now on, you’ll see your chosen image as the background on your Windows 7 login screen.
Using a Third-Party App To Change The Login Background In Windows 7
Someone who’s never used a registry editor or the local group policy editor will find the above methods to be a bit daunting and may even avoid using them. It’s totally understandable and there’s actually an easier way to change the Windows 7 login screen background image without tinkering around those tools.
There’s a free app called Windows 7 Logon Background Changer that allows you to change your current background image to whatever you like with the click of a button. All it basically requires you to do is select your new image to be used as the background and apply it to your system.
- Head over to the Windows 7 Logon Background Changer website and download the app to your computer.
- Extract the app archive and double-click on the executable file to launch it.

- You’ll see several images you can use as the background when it launches. Select the one you’d like to use and click on Apply at the top.

- If you’d like to use a custom image, click on Choose a folder at the top and select the folder containing your image.
It’s good to be able to replace a background you don’t like with something that you like. Let us know what made you change your background in the comments below.


